livepeer_cli. You can do this without exporting keys from the machine on which
the orchestrator node is running.
Voting With the livepeer_cli
Follow the steps herein to access and vote with the livepeer_cli:
-
Find the contract address for the poll in the
Livepeer Explorer page for the poll.
The poll page displays the following message:
 Click the link, “Follow these instructions”, to display the instructions for voting with
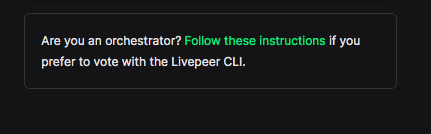
livepeer_cli: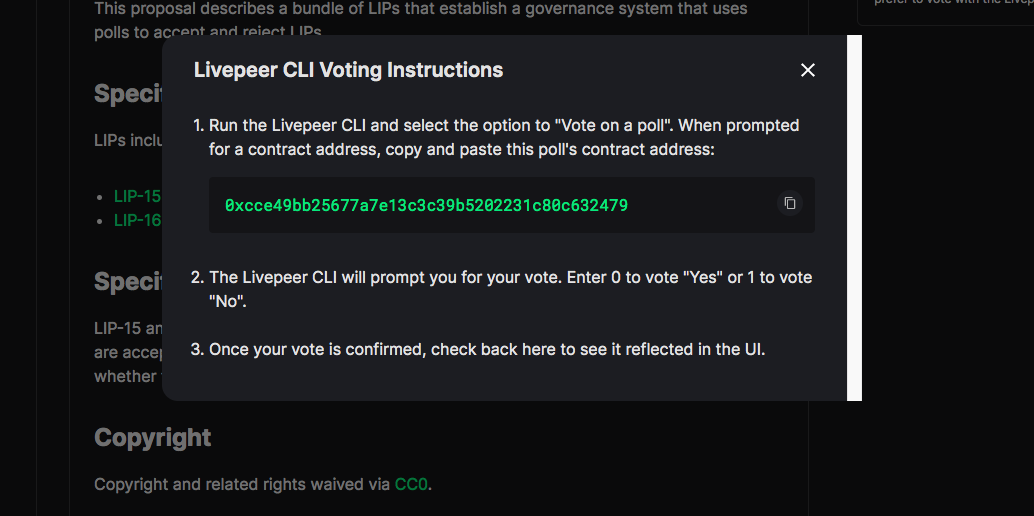
It is important to note the poll contract address for upcoming steps. -
Run
livepeer_cli -
Enter the number corresponding to the option to
Vote on a poll -
Enter the contract address saved in step 1.:
You will be prompted with the following voting options:
- Choose and confirm your vote
- Wait for the transaction to be confirmed. You should be able to view your node submitting the vote transaction.
- Once the vote transaction is confirmed, you will be able to see your vote reflected in the explorer poll page of the UI.